Description
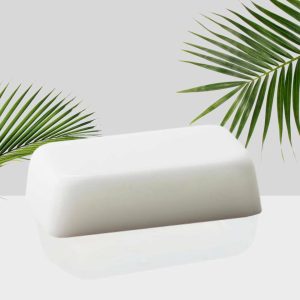
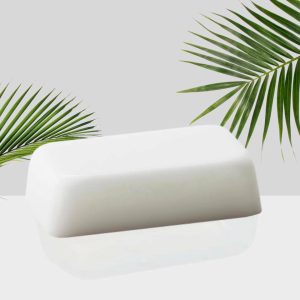
clear melt and pour soap base
Step 1: Cut your soap base into small 1” cube sized pieces.
Step 2: Put the cubed soap into a double boiler and melt, stirring occasionally. Use a thermometer to monitor the temperature, as you don’t want it to overheat. The melt point of most MP Soap Base is 115°-125°F. You never want to let your base get hotter than 30°F above the melt point as many issues can arise including dehydration, soap bloom and brittleness. A good range is 145°-155°F. This will allow you time to color, fragrance and pour your soap without it hardening before you have time to do so.
Step 3: Remove your melted soap base from the double boiler. Once your soap cools to about 140°F, add your scent, color and any additives that you want to use. Stir well to incorporate.
Step 4: Pour your soap into molds. The ideal pour temperature is 140°F. If you are doing a layered soap or embed soap, the ideal pour temperature is from 125°-130°F.
Step 5: Spray with Isopropyl Rubbing Alcohol to pop any bubbles that have formed on the surface.
Step 6: Once fully hardened, you can remove the soap from the mold. To harden the soap faster, you can place in the refrigerator but never put in the freezer. Wear gloves when you unmold your soap to reduce fingerprints.
Step 7: If you made a loaf of soap, you can cut upon unmolding. Make sure the soap loaf has completely hardened throughout or the center will ooze out when cutting.
Step 8: Wrap your soap in plastic to prevent sweating.


Reviews
There are no reviews yet.